
There’s something deeply nostalgic and universally loved about the classic combination of chocolate and peanut butter. Whether it’s a childhood treat or a grown-up indulgence, peanut butter cups bring together rich, creamy peanut butter and smooth chocolate in a bite-sized dessert that’s as satisfying as it is simple. Making them at home not only gives you control over the ingredients but also allows you to enjoy a fresher, often more flavorful version than store-bought options. These homemade peanut butter cups are perfect for gifting, sharing at parties, or just stashing in your freezer for whenever the craving hits.
Unlike many desserts, these cups require no baking, making them ideal for any time of year. They’re also highly adaptable—you can easily tweak the ingredients to suit your dietary preferences or get creative with variations. The graham crackers add a subtle crunch and structure to the peanut butter filling, while powdered sugar provides the right amount of sweetness. Coated in a luscious layer of melted milk chocolate, these treats are indulgent, fun to make, and hard to resist. Whether you’re a beginner in the kitchen or an experienced baker looking for a quick, foolproof recipe, this one delivers on taste and texture every single time.
Why You’ll Love This Recipe
- Easy and No-Bake – No oven needed, making it perfect for warm days or quick prep.
- Perfectly Balanced Flavors – Sweet, salty, creamy, and crunchy in every bite.
- Customizable – Can be adapted to suit dietary needs or flavor preferences.
- Great for Gifting – These make charming homemade gifts or party treats.
- Family-Friendly Activity – Fun and simple enough to make with kids.

Ingredients
- Graham crackers
- Powdered sugar
- Peanut butter (melted)
- Milk chocolate chips
Variations
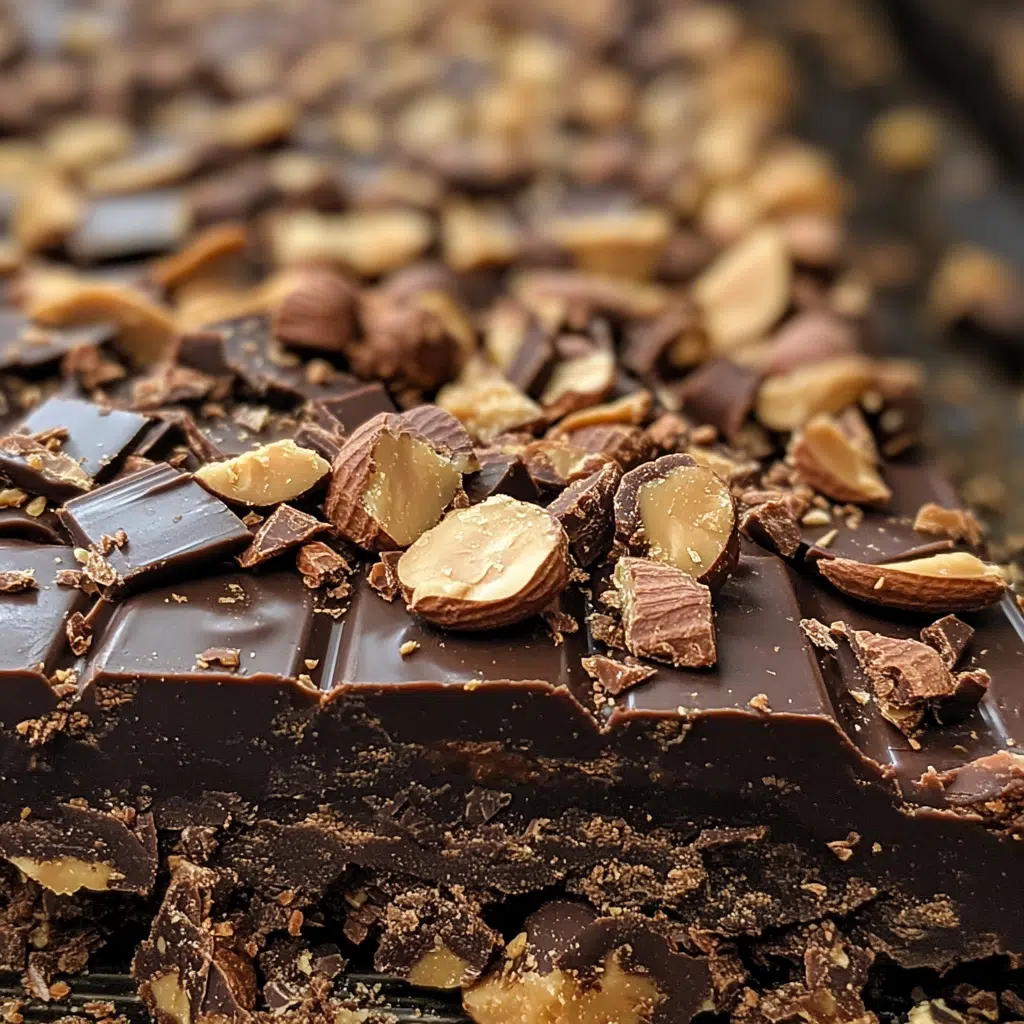
- Dark Chocolate Twist: Swap milk chocolate chips for dark chocolate for a richer, less sweet treat.
- Nut-Free Option: Use sunflower seed butter or cookie butter instead of peanut butter.
- Crunchy Style: Use crunchy peanut butter or add chopped peanuts to the filling for texture.
- Mini Cups: Use mini muffin tins for bite-sized peanut butter cups.
- Flavored Layers: Add a touch of sea salt, espresso powder, or cinnamon to the peanut butter mixture for an added depth of flavor.
How to Make the Recipe
Step 1: Prepare the Base
Crush the graham crackers finely, either using a food processor or by placing them in a zip-top bag and rolling with a rolling pin.
Step 2: Mix the Filling
In a mixing bowl, combine the crushed graham crackers, powdered sugar, and melted peanut butter until a thick, dough-like mixture forms.
Step 3: Press into Molds
Spoon the mixture into paper-lined muffin tins or silicone molds, pressing down to form a firm base layer.
Step 4: Melt the Chocolate
In a microwave-safe bowl, melt the milk chocolate chips in 30-second increments, stirring each time, until smooth.
Step 5: Add Chocolate Topping
Spoon melted chocolate over the peanut butter layer in each cup, smoothing it out with the back of a spoon.
Step 6: Chill
Refrigerate the peanut butter cups for at least 30 minutes, or until fully set.

Tips for Making the Recipe
- Use silicone molds for easier removal.
- Line your tins with paper liners to keep things mess-free.
- Stir chocolate frequently while melting to avoid burning.
- Chill the cups well before serving for the best texture.
- Store in a cool place to prevent the chocolate from melting.
How to Serve
Serve these peanut butter cups chilled or at room temperature. They pair beautifully with a cup of coffee or tea, and make a great addition to dessert platters or lunchbox treats. For a special touch, sprinkle a little flaky sea salt on top before the chocolate sets.
Make Ahead and Storage
Storing Leftovers
Store in an airtight container in the refrigerator for up to 2 weeks. Keep them separated by parchment paper to prevent sticking.
Freezing
Peanut butter cups freeze well. Place them in a freezer-safe container and freeze for up to 3 months. Thaw in the refrigerator before serving.
Reheating
Not necessary—these are best enjoyed cold or at room temperature. If desired, you can warm them slightly for a gooier texture.
FAQs
1. Can I use natural peanut butter?
Yes, but make sure it’s well-stirred and not too runny to maintain the right texture.
2. Can I make these vegan?
Absolutely! Use dairy-free chocolate chips and a plant-based butter substitute if needed.
3. What can I use instead of graham crackers?
Digestive biscuits or crushed vanilla wafers work well as substitutes.
4. Can I add toppings?
Yes, chopped nuts, sea salt, or even sprinkles make great toppings.
5. Do I need to refrigerate them?
Yes, especially in warm climates, to keep the chocolate set.
6. Can I double the recipe?
Yes, just make sure you have enough molds and space in the fridge.
7. How long do they last?
They keep for up to 2 weeks in the fridge and 3 months in the freezer.
8. Can I make these without chocolate?
Not really, as the chocolate is essential to the structure and flavor, but you could experiment with alternatives like carob.
9. How do I keep the chocolate from separating?
Ensure all layers are well chilled and ingredients are well combined.
10. Can kids help make this?
Definitely! It’s a fun, safe recipe that kids can enjoy helping with.

Conclusion
Homemade peanut butter cups are a delightful, easy-to-make treat that hits all the right notes—creamy, crunchy, sweet, and satisfying. Whether you’re looking to impress at a party or just want a quick dessert to stash in your fridge, this recipe delivers every time. With endless ways to customize and a foolproof method, these cups are bound to become a staple in your sweet treat rotation.
Print
Homemade Peanut Butter Cups
- Total Time: 1 hour 15 minutes (including chill time)
- Yield: 12–14 peanut butter cups
- Diet: Vegetarian
Description
These no-bake Peanut Butter Cups are a rich, chocolatey treat with a deliciously smooth peanut butter filling and a subtle crunch from graham crackers—perfect for satisfying your sweet tooth or sharing at parties!
Ingredients
-
10 graham crackers (crushed into crumbs)
-
1 1/4 cups powdered sugar
-
1 1/2 cups peanut butter (melted)
-
2 cups milk chocolate chips
Instructions
-
Line a muffin tin with cupcake liners or use silicone molds.
-
In a medium bowl, mix the graham cracker crumbs and powdered sugar.
-
Add the melted peanut butter and stir until well combined.
-
Press about 1–2 tablespoons of the peanut butter mixture into the bottom of each cupcake liner.
-
Melt the milk chocolate chips in the microwave or over a double boiler until smooth.
-
Spoon melted chocolate over the peanut butter layer in each cup, spreading evenly.
-
Refrigerate for at least 1 hour or until firm.
-
Once set, remove from liners and enjoy!
Notes
You can use dark or semi-sweet chocolate instead of milk chocolate for a richer flavor.
Add a pinch of sea salt on top before chilling for a salty-sweet combo.
Store in an airtight container in the refrigerator for up to 2 weeks.
- Prep Time: 15 minutes
- Cook Time: 0 minutes (no-bake)
- Category: Dessert
- Method: No-Bake
- Cuisine: American